Removing the Engine from the Focus
Here are the steps I took to remove the engine and other unecessary elements of the cooling, fuel, and exhaust systems. A Haynes automotive manual for the Ford Focus helped a lot in locating and giving tips for removal. I'm not a mechanic so I was fortunate to have someone more familiar with the process to assist.
Before starting this process I took the car to a local scrap metal yard and had the car weighed. I also had the front and rear of the car weighed separately. The Focus weighed 1000 lbs in the rear and 1620 lbs. in the front. Back in the garage I backed the car up onto ramps, jacked up the front of the car, and placed 3 very solid jackstands under the front frame and suspension. I then removed the front wheels. This provides a lot of access for getting under the car to remove things, and for dropping the engine out.
- Remove the battery and battery tray. (This battery will be re-used for the 12V accessory system in the EV.)
- Remove the hood.
- Evacuate A/C refrigerant.
- Drain oil from motor
- Drain the transaxle. (More oil will come out later when the drive axles are pulled.)
- Drain the fuel tank
- Drain coolant from the radiator
- Drain coolant from the engine block.
- Remove the exhaust system
- Remove the exhaust system shields
- Remove the fuel tank
- Remove all fuel lines.
- Remove evap canister (near the fuel tank)
- Remove the fuel filter.
- Remove fuel filler tube.
- Remove the engine cooling dual fan from behind the radiator.
- Remove the radiator an AC condenser.
- Disconnect and drain the power steering tank from the passenger side strut tower.
- Remove the serpentine belt
- Remove power steering pump in case I decide to use it later. (This could be done after the engine is out of the vehicle.) In the meantime, the delivery line from the pump to steering gear box will be removed from the pump and connect back (on itself) to the return on the steering gear box.
- Selectively disconnect wiring from engine. I did this by working my way completely around the engine carefully disconnecting the plugs.
- Label and disconnect wires that go to the transaxle. One wire is for the vehicle speed sensor (VSS) and the other is for the reverse switch. I will need to keep the Power Control Module (PCM) since the VSS signal goes through the PCM to the speedometer and tachometer.
- Disconnect all hoses, cables and linkages from the engine.
- Disconnect the two shift linkage cables from the transaxle. This took a while to figure out but eventually we just pulled the ends loose and they popped off the linkages.
- Disconnect the clutch hydraulic line from the top of the transaxle. Cover the end with a plastic bag held by rubber bands twisted around the hose, since it will leak.
- Remove brake vacuum lines (The power brake vacuum will be provided by an electric vacuum pump and a vacuum reservoir. The vacuum hose will be needed.)
- Disassemble the tie rod ends and lower suspension arms from the front hubs. These bolts were stubborn and I needed a "pickle fork" to get the lower suspension to separate.
- Loosen the strut top nuts (3 per side) so that the hubs can swing away from the suspension.
- Remove the drive axles and the bracket that supports the passenger side drive axle on the engine. This bracket will be re-used later. The passenger side axle was easy to remove; the driver's side took a while. We eventually got a "slide hammer" and connected a home-made strap attachment to fit between the transaxle and the end of the drive axle. After several slides on the hammer we got it to pop loose.
- Remove the lower bolts that connect the engine to the transaxle.
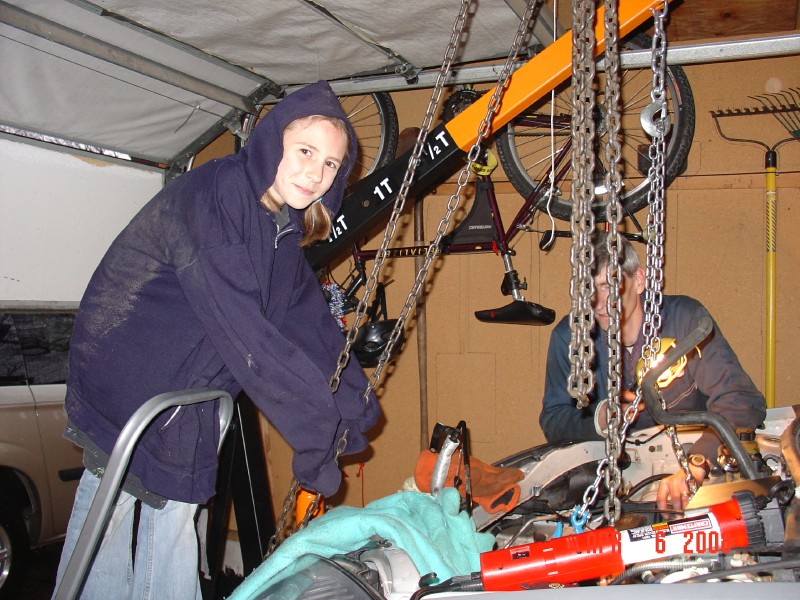
- Connect the engine to an engine hoist. Support both the engine and transaxle from the hoist. Make sure that the hoist has a long enough reach to allow the engine to drop to the ground.
- Disconnect the engine mounts - one at the top of the transaxle, one at the lower rear of the transaxle, and one at the far end of the engine.
- Slowly lower the engine and transaxle together and rest it on wooden blocks that support both pieces.
- Remove the remaining bolts connecting the engine to the transaxle. Slide the two apart.
- The transaxle can be slid out from under the car on the floor. Then there's room to lift the engine up and out and then lower it back to the ground.
CAUTION: Do not start hacking away at the wiring harnesses! Only cut wires that you are sure you will not use later. Do not cut off any ground wires.
This process took a couple of days over a weekend, with an assistant or two helping for most of that time.
Updated 14AUG2008 CHS